


How to Use Paint 3D (Complete Beginner's Guide)
Learn how to use Paint 3D for beginners, including brushes, cropping, adding text, 3D shapes, and saving your projects.
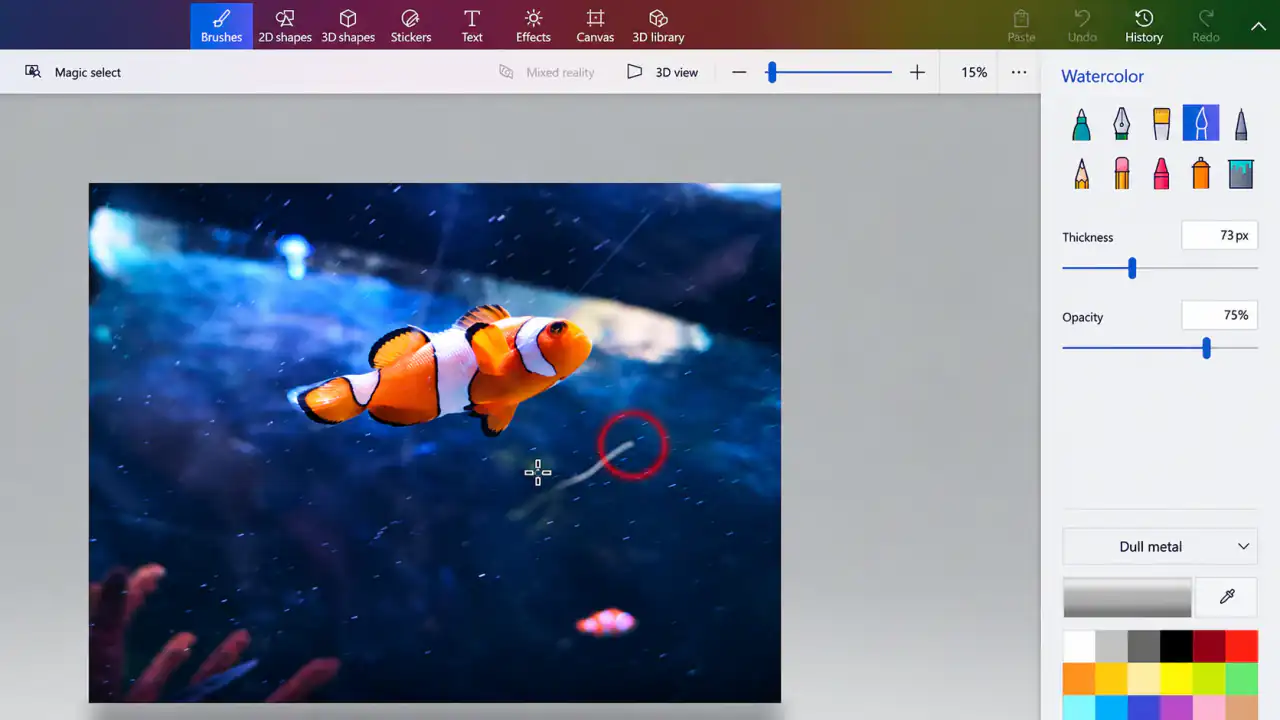
Paint 3D looks simple when you first open it, but the mix of photo-editing tools and 3D objects can be confusing. Should you start with Brushes, Canvas, or 3D Shapes? And why does saving as an image work differently from saving a project?
Rather than explain every button in isolation, this beginner's guide takes you through a small project: open a picture, make a few edits, add text, experiment with a 3D object, and save the result. You'll see what the main tools do as you use them, which is much easier than memorizing the whole toolbar.
How to Use Paint 3D Step by Step
Start a New Project or Open an Image
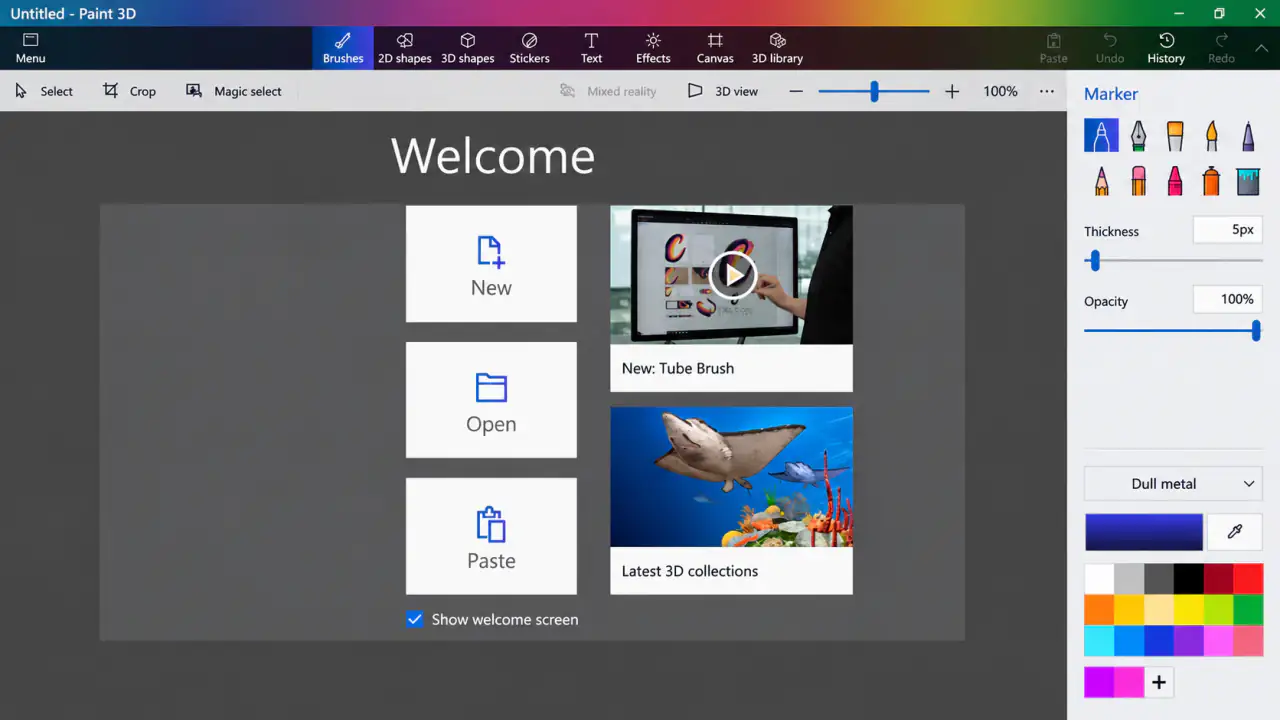
Open Paint 3D. Choose New to begin with a blank canvas, or Open if you want to edit a picture from your computer.
The main workspace is in the middle, while the top toolbar gives you access to editing tools. When you select a tool, its options usually appear on the right.
Draw with Brushes and 2D Shapes
Click Brushes and choose a pen, brush, or another available drawing tool. Try changing the size and color before drawing a few lines on the canvas.
Next, open 2D shapes and add a circle or rectangle. You can use these shapes for simple diagrams, decorations, and labels.
If you make a mistake, press Ctrl + Z to undo it.
Crop or Resize an Image
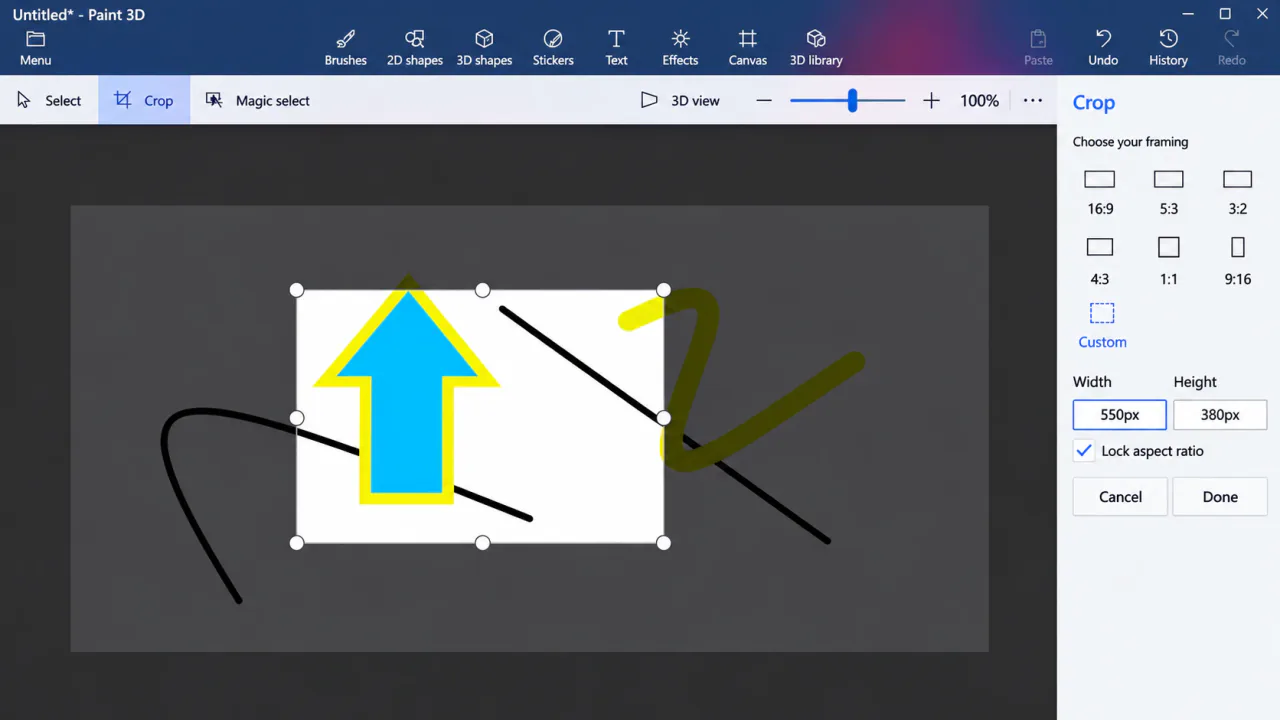
To remove unwanted parts of a picture, select Crop, drag the frame around the area you want, and click Done.
If you need a different image size, open Canvas, turn on Resize image with canvas, and enter a new width or height. Keep Lock aspect ratio enabled to avoid stretching the picture.
Add Text to Your Picture
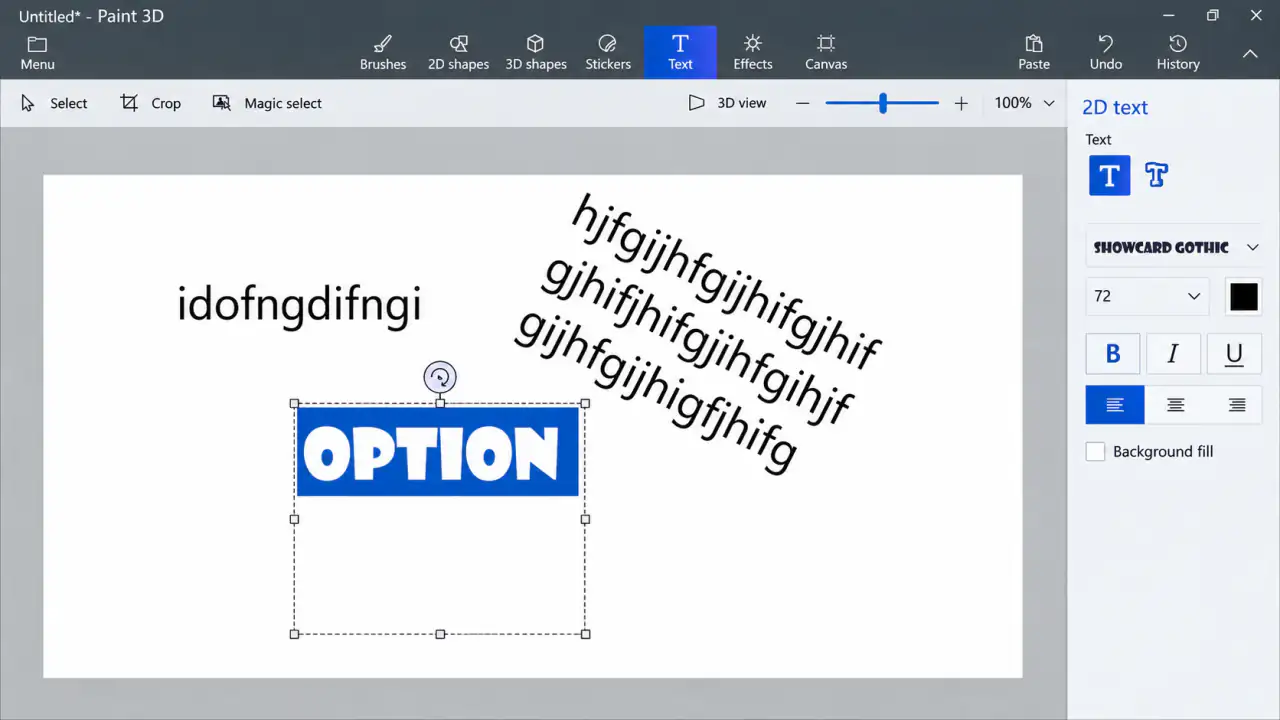
Click Text, choose 2D text, and drag a box where you want the words. Type a caption and adjust its font, color, or size.
Check the spelling before clicking outside the box. Once standard 2D text is committed to the canvas, you can't edit it like an ordinary text box.
Try the 3D Shapes Tool
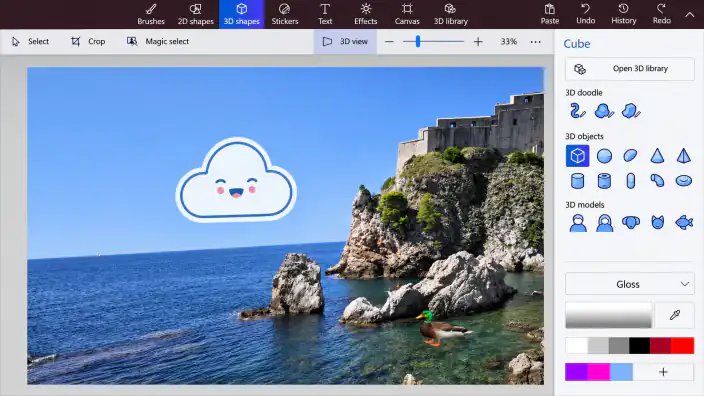
Click 3D shapes and choose a cube, sphere, or another object. Place it on the canvas and use the handles to rotate or resize it.
Switch to 3D view to look at your object from another angle. Try adding a second shape to see how both objects fit together.
Save Your Work
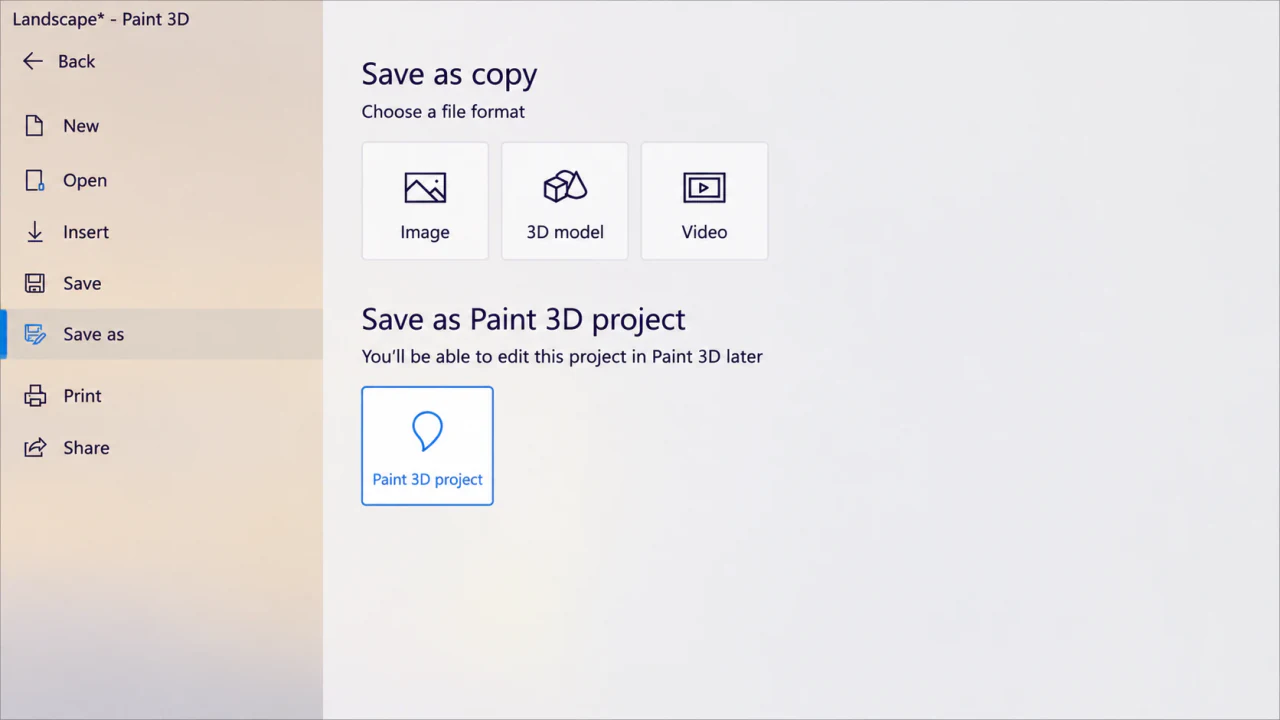
When you're finished, go to Menu > Save as. Choose Paint 3D project if you want to continue editing later. For a picture you can share or upload, select Image and save it as PNG or JPEG.
If you've made a 3D object for another application, check the available 3D model export formats.
Try This Simple Paint 3D Project
A good first project is a small greeting card. Open a photo, crop it, and add a short caption. Then place a colorful 3D shape in one corner. Save the editable project first, followed by a PNG image to share.
This gives you a chance to practice several Paint 3D tools without making anything too complicated.
Get Comfortable with the Paint 3D Workspace
The toolbar looks less intimidating once you divide it into jobs. Brushes and 2D Shapes are for drawing; Text adds words; Crop removes the edges of an image; Canvas controls the workspace and its dimensions; and 3D Shapes lets you place objects with depth. You don't need to learn the 3D tools to crop a photo or label a screenshot.
Try doing one tiny experiment with each tool rather than designing a complete poster on day one. Draw a line, add a rectangle, undo it, place a caption, and resize the canvas. This makes the controls feel familiar quickly.
An Easy First Project to Practice
Take a screenshot or photo that you don't mind experimenting with. Crop away an unwanted edge, add a short heading in 2D Text, then place one colorful shape in a corner. Save the project file first so you can revisit the changes. Export a PNG afterward and open it outside Paint 3D. You'll immediately understand the difference between an editable project and the final picture.
Three Beginner Mistakes to Avoid
Saving over the only copy: Use Save as when working with a photograph you want to keep. It's much easier to restart from the original than to reverse a long series of edits.
Resizing the canvas instead of the image: In Canvas settings, check Resize image with canvas if your goal is to change the photo's actual pixel dimensions.
Assuming every item stays editable forever: A finished PNG is a flat image, and 2D text can become part of the picture once applied. Decide what you may want to change later and keep an editable project copy.
Frequently Asked Questions
Is Paint 3D easy for beginners?
Yes. Basic tasks like cropping photos, drawing shapes, and adding text are straightforward. Working with multiple 3D objects takes a little more practice, but you can start with simple shapes.
What's the difference between saving a project and an image?
A Paint 3D project keeps your work available for further editing. An image export creates a flat PNG or JPEG that you can use on websites, in documents, or on social media.
Can I still use Paint 3D if I already have it installed?
Yes, existing installations can continue to work, although Microsoft discontinued the app and removed its original Microsoft Store listing. Some older online features may no longer be available.