


How to Crop an Image in Paint 3D
Learn how to crop a photo in Paint 3D, adjust the crop box, choose the area you want, and save the cropped image.
Ever taken a screenshot and realized most of it is browser tabs and empty space? Or maybe the person in a photo looks tiny because there's too much scenery around them. You don't need a complicated editor for that. Paint 3D has a basic Crop tool that lets you cut away the edges and keep what matters.
I'll use a normal rectangular crop here, which works for screenshots, pictures, and simple thumbnails. If you also need the finished image to be a particular pixel size, do the crop first and resize afterward. That avoids stretching your photo just to fit a target dimension.
How to Crop a Picture in Paint 3D
Open Your Photo
Open Paint 3D, click Menu > Open > Browse files, and choose your picture. Take a moment to decide which area you want to keep.
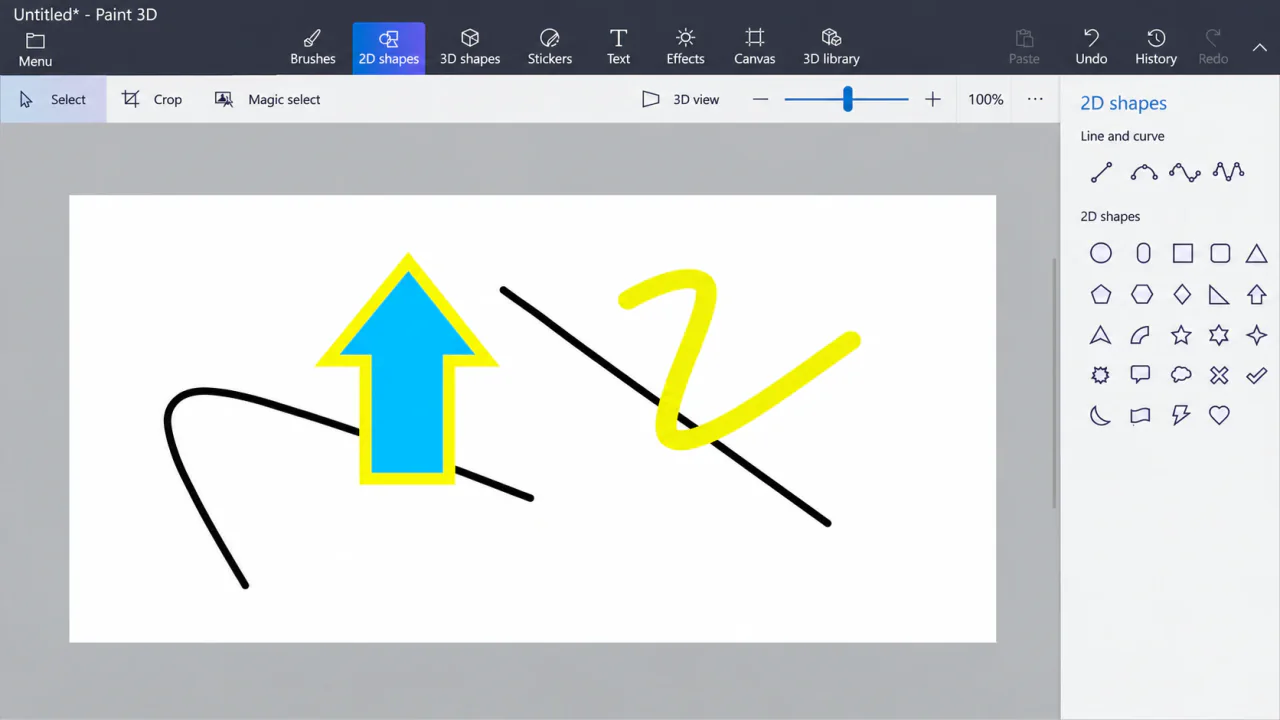
Click the Crop Tool
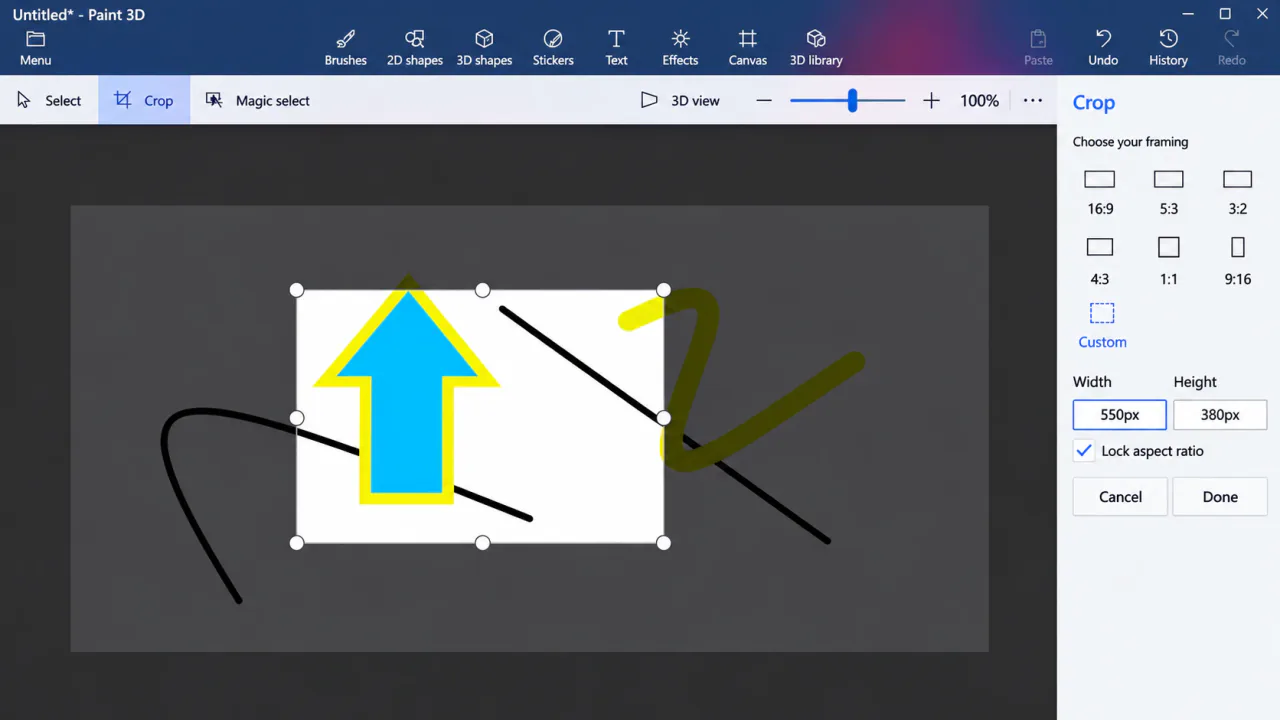
Select Crop above the canvas. A rectangular frame will appear over your image, with crop settings in the panel on the right.
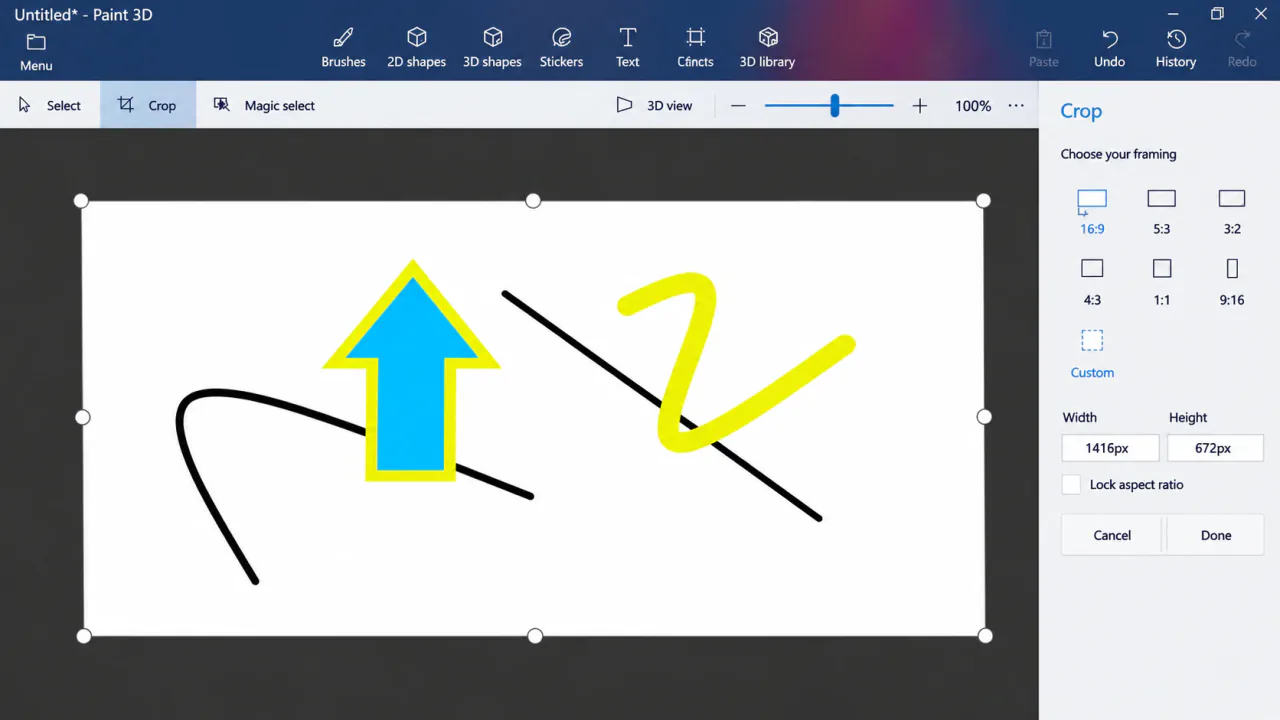
Adjust the Crop Area
Drag the corners or sides of the frame until it surrounds the part you want. The area outside the frame becomes darker, showing what will be removed from the final picture.
If you're making a square profile photo, use an appropriate crop ratio where available. Leave some room around the subject so it doesn't look cramped.
Apply the Crop and Save
Click Done when the frame looks right. If you cropped too much, press Ctrl + Z to undo and try again.
Go to Menu > Save as > Image and save the cropped picture with a new filename.
Crop vs. Resize: What's the Difference?
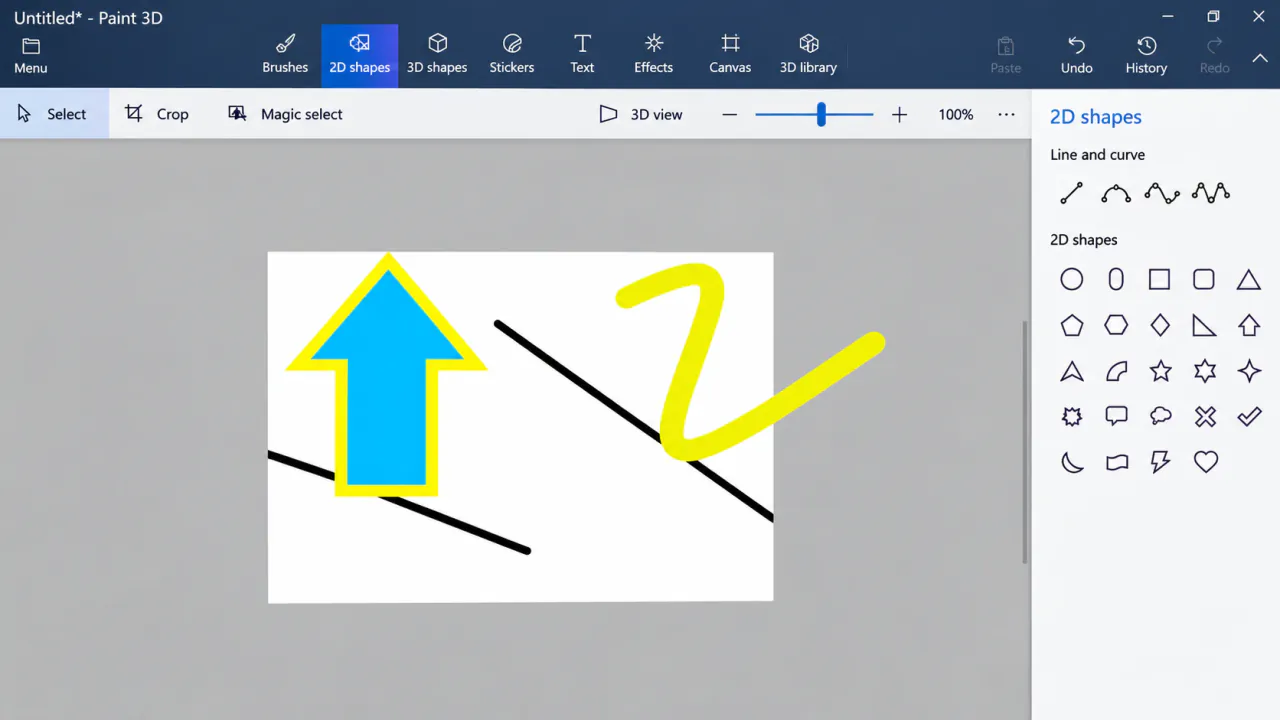
Cropping removes part of a picture to change what is visible. Resizing changes the picture's dimensions. If you need a photo with a particular shape and pixel size, crop it first and resize it afterward.
How to Crop for Different Uses
For screenshots: Leave enough context that someone can tell what they're looking at. If you're showing a setting inside an app, cropping too tightly around the toggle may remove the menu name that explains where it is.
For a profile picture: Put the face near the center and leave a little extra room around the head. Many websites show the uploaded square inside a circular frame, so details right at the corners may disappear.
For a website thumbnail: Pick the main subject first, then use a consistent crop ratio across your thumbnails. A row of images looks cleaner when they all have the same proportions, even if the original photos were different sizes.
A Crop Mistake That's Easy to Make
After dragging the frame, look at all four edges before pressing Done. It's surprisingly easy to cut off part of a caption, a person's hair, or the corner of an object. And if the result is wrong, Ctrl + Z is your friend—but don't rely on being able to recover removed areas after you've exported over the original. A new filename is the safer choice.
If your goal is to remove the background around a person while keeping the irregular outline, Crop isn't the right tool. It always keeps a rectangular region. You'll want Magic Select for that job.
Frequently Asked Questions
Can I crop an image into a circle in Paint 3D?
The standard Crop tool makes rectangular crops. For a circular-looking cutout, you'll need a separate selection and transparency process, or another editor with a circular mask tool.
Can I recover the parts I cropped out?
You can undo the crop while it's still in the edit history. But after saving a normal cropped image, the missing areas aren't included in that file. Keep the original if you might need them later.