


How to Remove Background in Paint 3D
Learn how to remove the background of a picture in Paint 3D using Magic Select and save your cutout as a transparent PNG.
Suppose you've got a photo of a product, a pet, or yourself, but the background is distracting. You only want the subject so you can place it on a poster or another picture. You can do that in Paint 3D, although the process isn't quite a one-click background remover.
First, you'll use Magic Select to cut out the subject. Then you'll get rid of the original background and save the cutout as a transparent PNG. That second part matters: simply moving the selected object away doesn't make the rest of your image transparent. Let's go through the whole process so you don't end up with a white rectangle around your cutout.
How to Remove the Background of a Picture in Paint 3D
Open Your Image
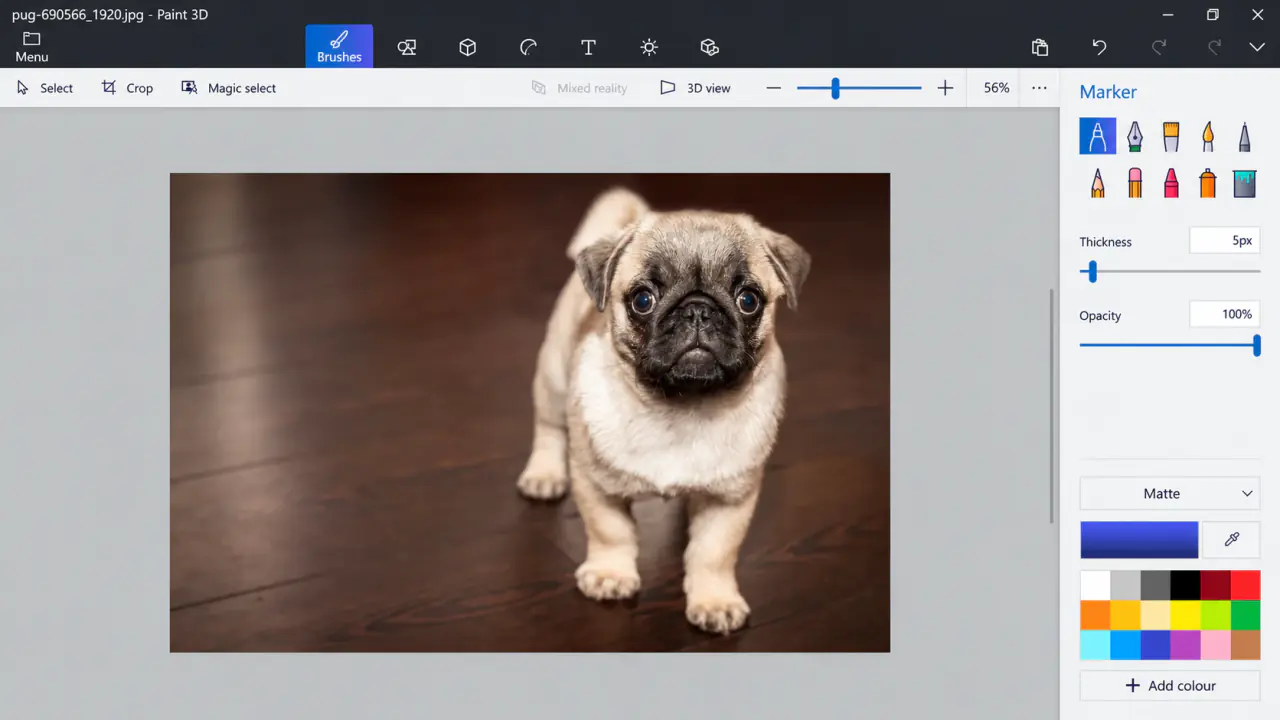
Open Paint 3D and go to Menu > Open > Browse files. Select the photo you want to edit. For the best result, use a clear image where your subject stands out from the background.
Select the Subject with Magic Select
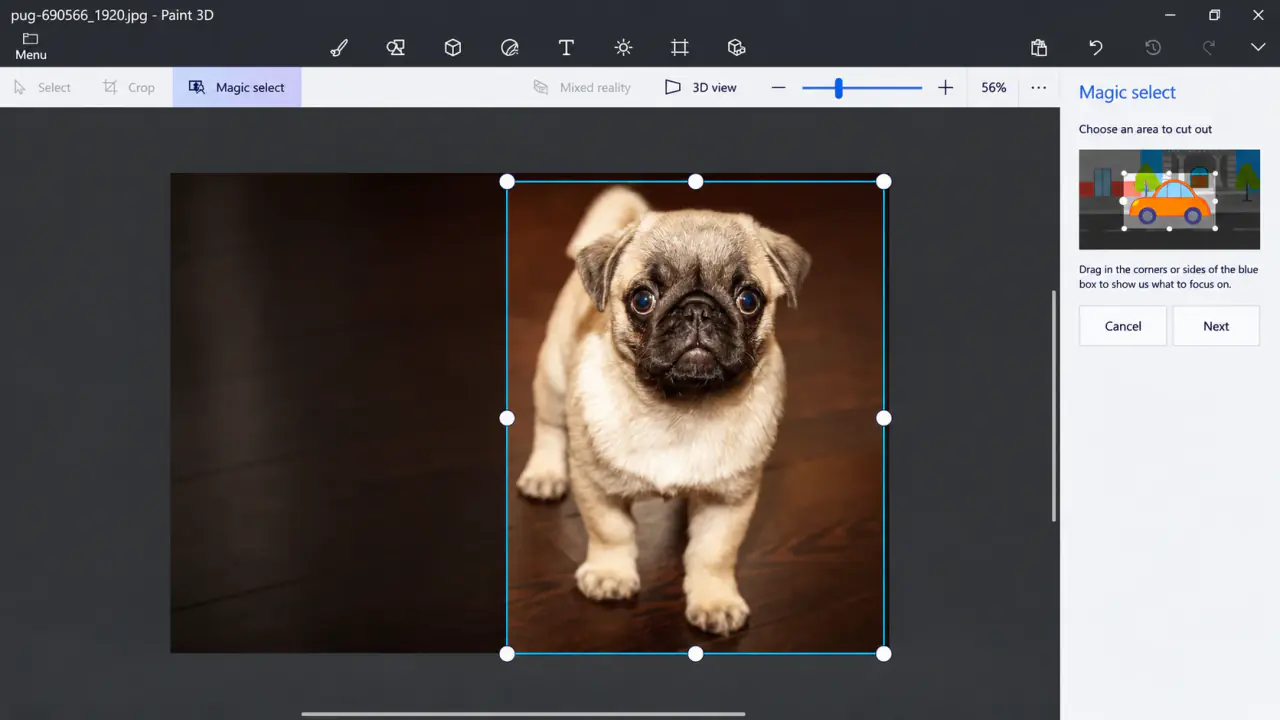
Click Magic select above the canvas. You'll see a selection box around your picture. Drag its edges so it covers the subject you want to keep, then click Next.
Don't make the box too tight. Leave a little space around small details such as hair, ears, or hands.
Fix the Selection with Add
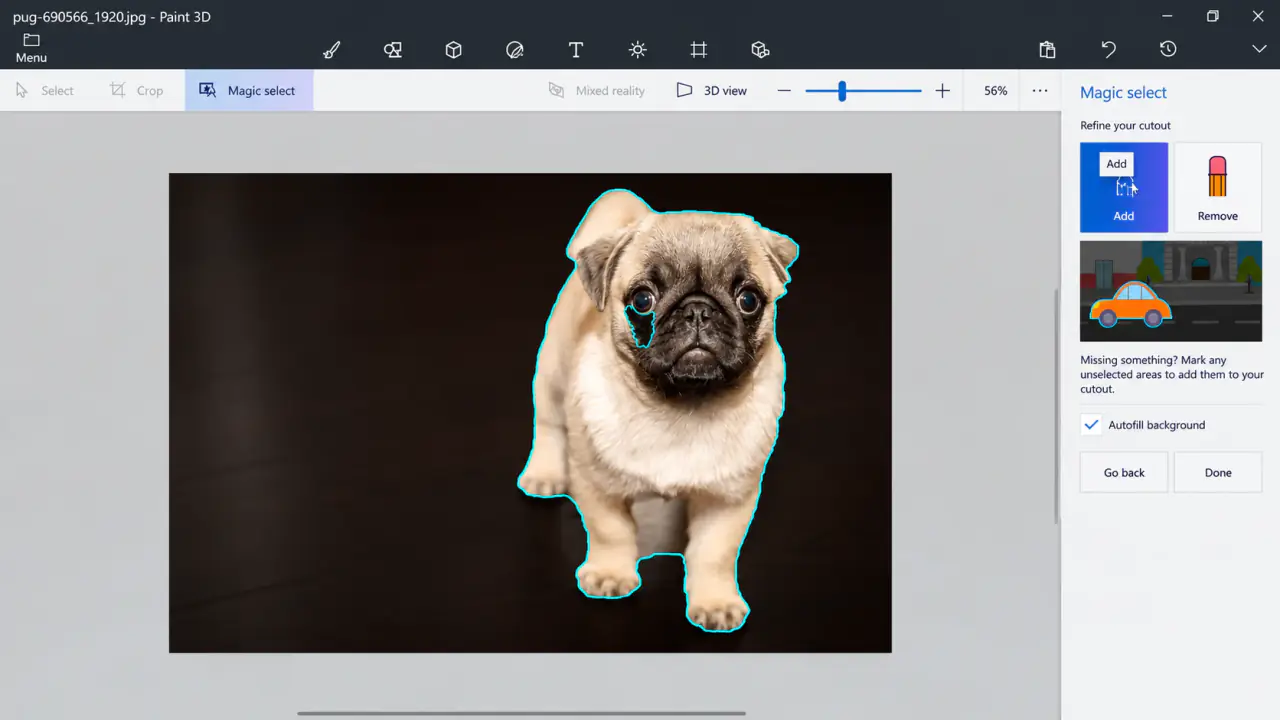
Paint 3D will try to identify your subject automatically. Sometimes it misses part of the image. If that happens, click Add and draw a short line over the missing area.
Check the edges carefully before moving on. It's easier to fix mistakes now than after you've saved the image.
Remove Unwanted Areas
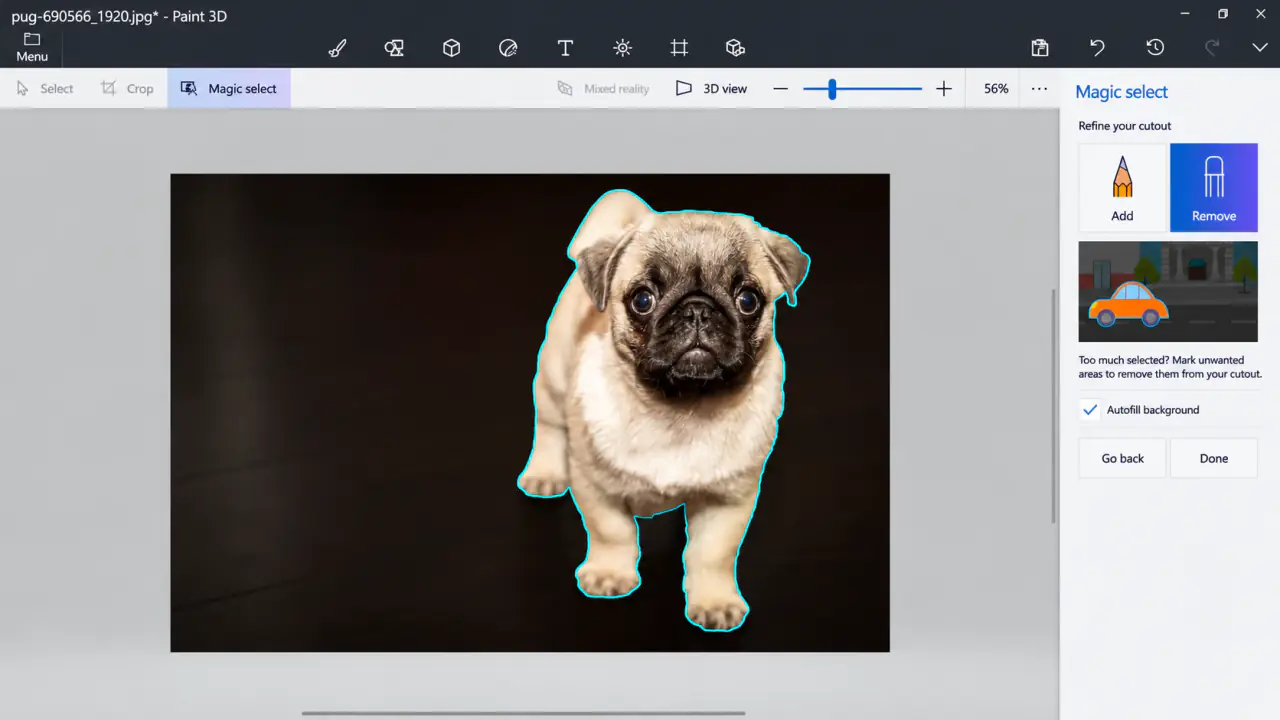
If the selection includes part of the background, choose Remove and mark that area. You can switch between Add and Remove until the outline looks right.
Take extra care around hair, paws, and narrow gaps where the colors are similar.
Separate the Subject from the Background
Click Done. Your subject is now a movable cutout. Drag it to one side to see the original picture underneath.
To keep only your subject, remove the old background without deleting the cutout. You can also copy the cutout into a new, blank project if that's easier.
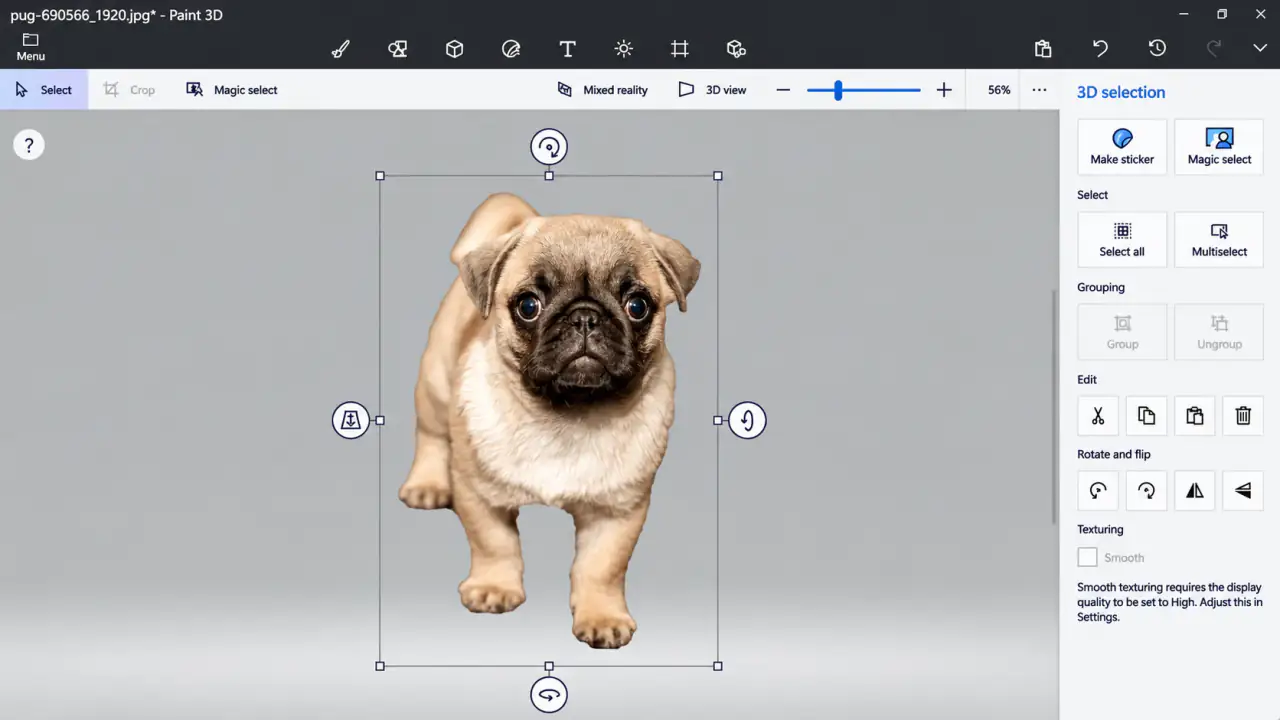
Save the Image with a Transparent Background
Open Canvas and turn on Transparent canvas. Then choose Menu > Save as > Image and select PNG. If a Transparency option appears in the save window, make sure it is enabled.
Check the preview for the checkerboard pattern, which indicates transparent areas. Save the new image under a different filename so you don't overwrite your original photo.
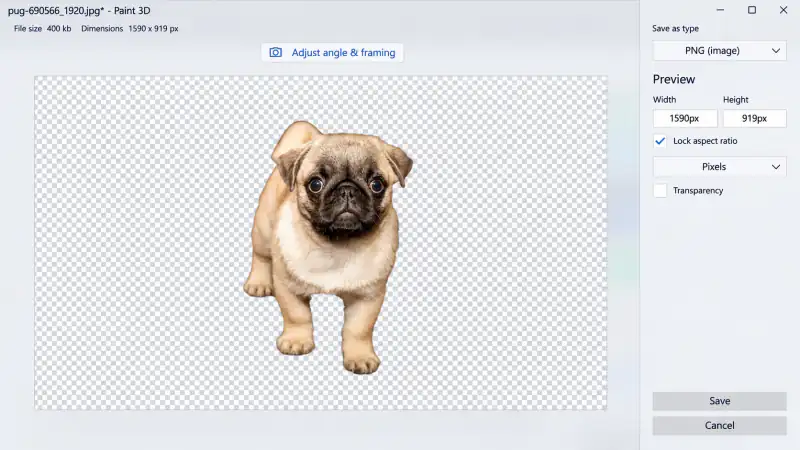
Why Is the Background Still White?
If your saved image has a white background, first check that you selected PNG instead of JPEG. Next, make sure you've actually removed the original photo and enabled transparency. Remember that some photo viewers display transparent areas as white, so try placing the PNG on a colored background to test it.
A More Reliable Way to Get a Clean Cutout
Magic Select works best when the object has a reasonably clear edge. A mug on a plain table is usually easier than a person standing in front of a busy crowd. If the tool keeps grabbing the wrong area, don't spend ten minutes drawing tiny correction lines. Undo, make the selection box more focused, and try again. You can also crop away irrelevant parts of the original photo before selecting the subject.
Once Paint 3D has separated the subject, look at what remains on the canvas. This is the step people often miss. Moving the subject to one side leaves the original photo in place. If you save at that point, the background will still be there. Remove the unwanted background carefully, or copy the cutout into a new blank project. Then turn on Transparent canvas.
What about hair and fine edges?
You'll sometimes see a light-colored halo around the cutout, especially if the original background was white. Zoom in and inspect the outline. Magic Select isn't a professional hair-masking tool, so some images may need a more precise editor. For a thumbnail or casual graphic, though, a slightly imperfect edge can be perfectly usable.
Before you upload the PNG
Put the saved file against a dark-colored background. That makes leftover white pixels immediately obvious. Also check the overall canvas size: a tiny cutout in the corner of a huge transparent canvas can look oddly small when uploaded to another app. Crop or adjust the canvas around the subject before exporting if necessary.
Frequently Asked Questions
Can Paint 3D remove backgrounds automatically?
Magic Select does much of the work for you, but it isn't always perfect. You may need to use Add and Remove to correct the outline.
Can I save the cutout without changing the original picture?
Yes. Use Save as and give the new PNG a different name. Your original photo will stay untouched.