


How to Use Magic Select in Paint 3D
Learn how Magic Select works in Paint 3D, fix selections using Add and Remove, and move a subject from its background.
The ordinary Select tool in Paint 3D gives you a rectangular area. That's fine when you want to copy a whole section of an image, but it's awkward when you need just a person, a dog, or a product with an irregular outline. That's where Magic Select comes in.
It guesses which part of the picture you want, then lets you correct the result with Add and Remove. Don't worry if its first attempt looks messy—especially around hair, clothing, or a subject that's similar in color to the background. The trick is knowing which parts to correct before clicking Done.
How to Use the Magic Select Tool
Open a Picture
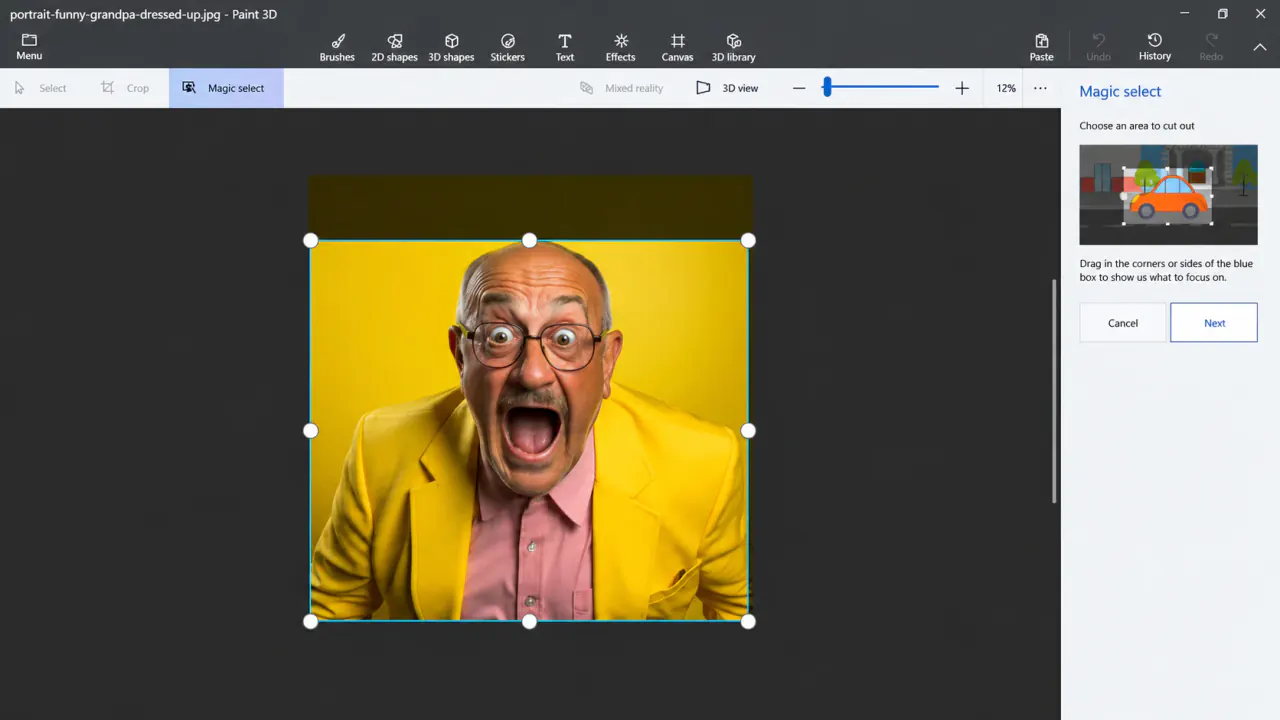
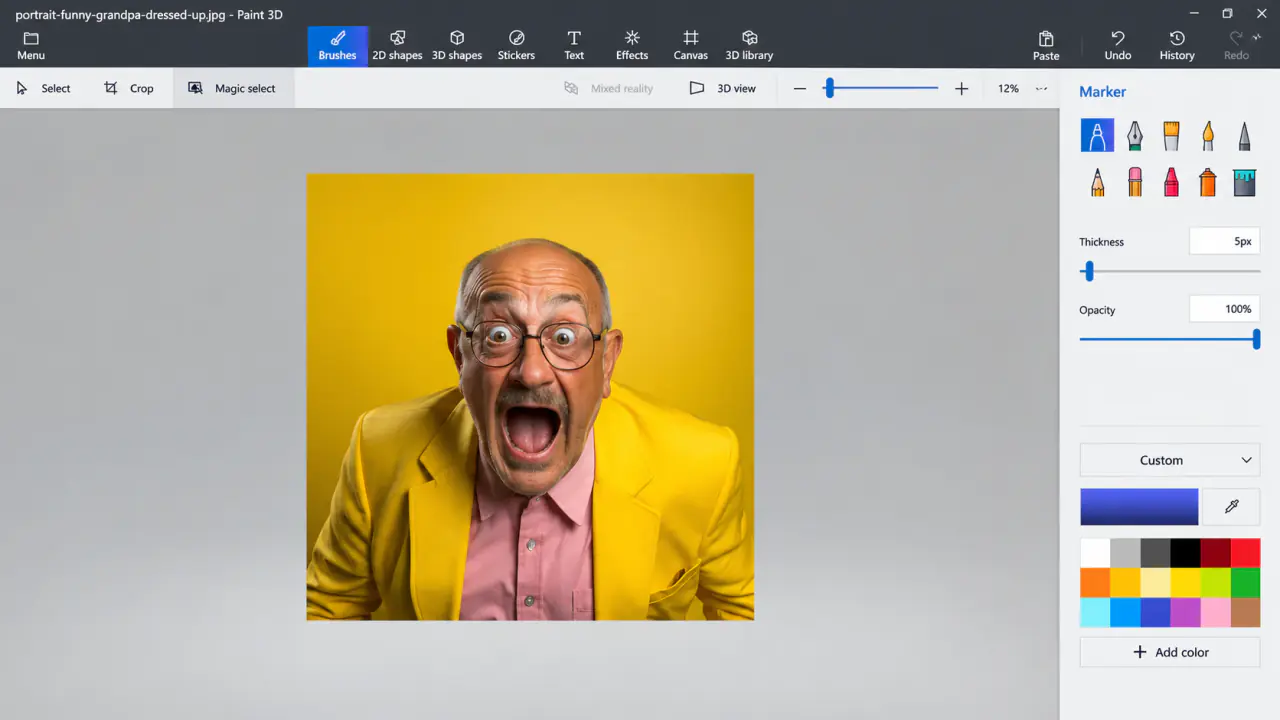
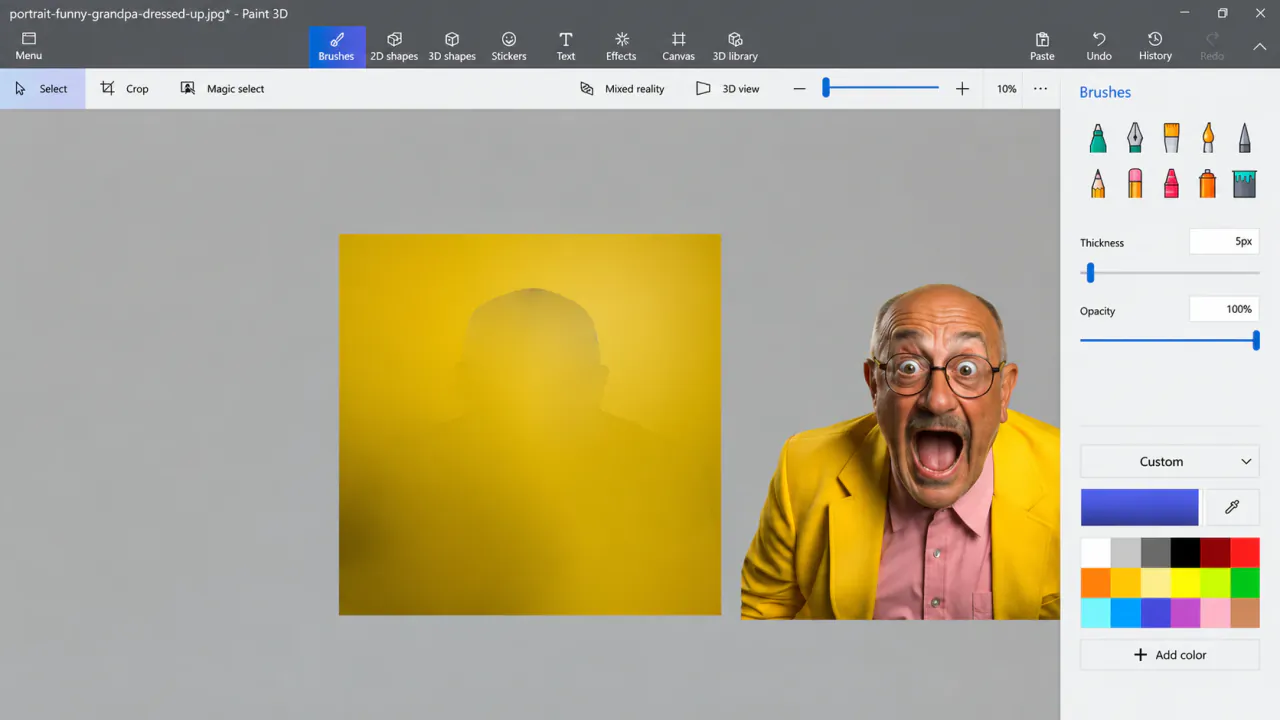
Open the image you want to edit. If possible, choose a photo where the subject is clearly visible. In the example, the person's yellow jacket blends into the yellow background, which makes the selection a little harder.
Choose Magic Select
Click Magic select above the canvas. Adjust the box so it includes the entire subject, including the head, shoulders, and anything else you want to keep. Click Next to see Paint 3D's first selection.
Add Any Missing Parts
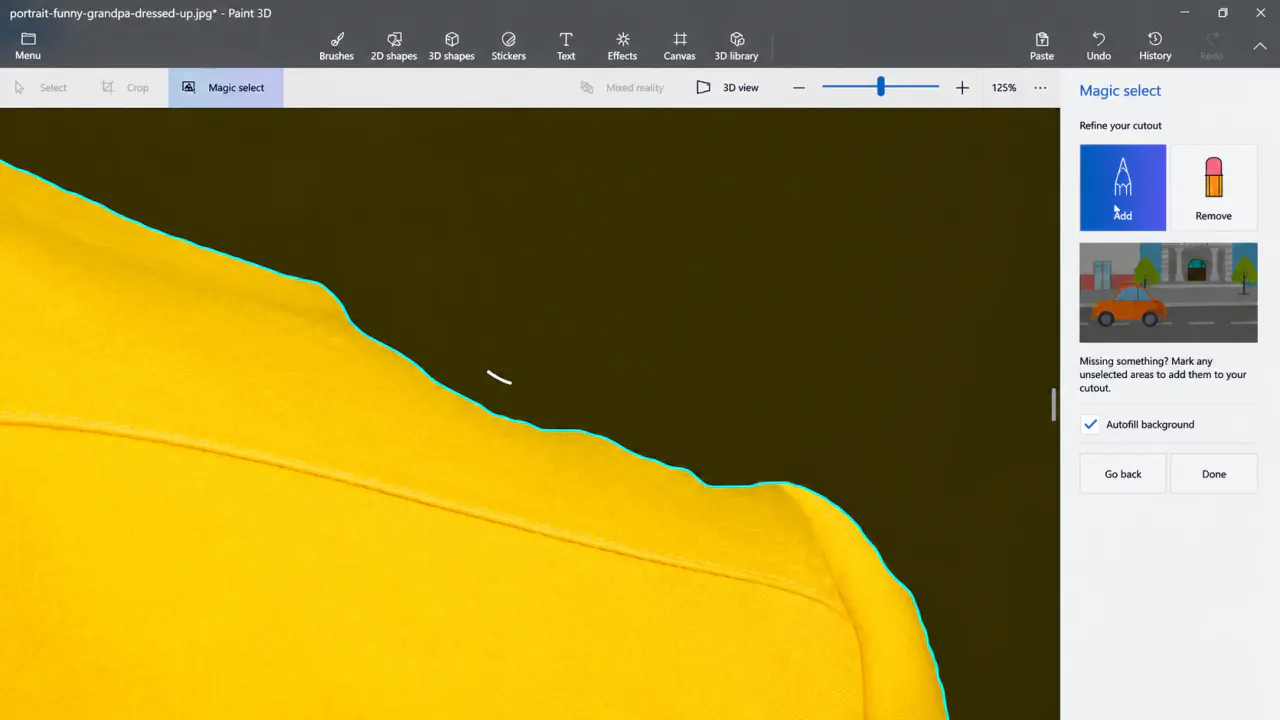
If the selection cuts off part of your subject, click Add. Draw a short line over the missing area and check how the outline changes. Repeat only where needed.
Remove Extra Background
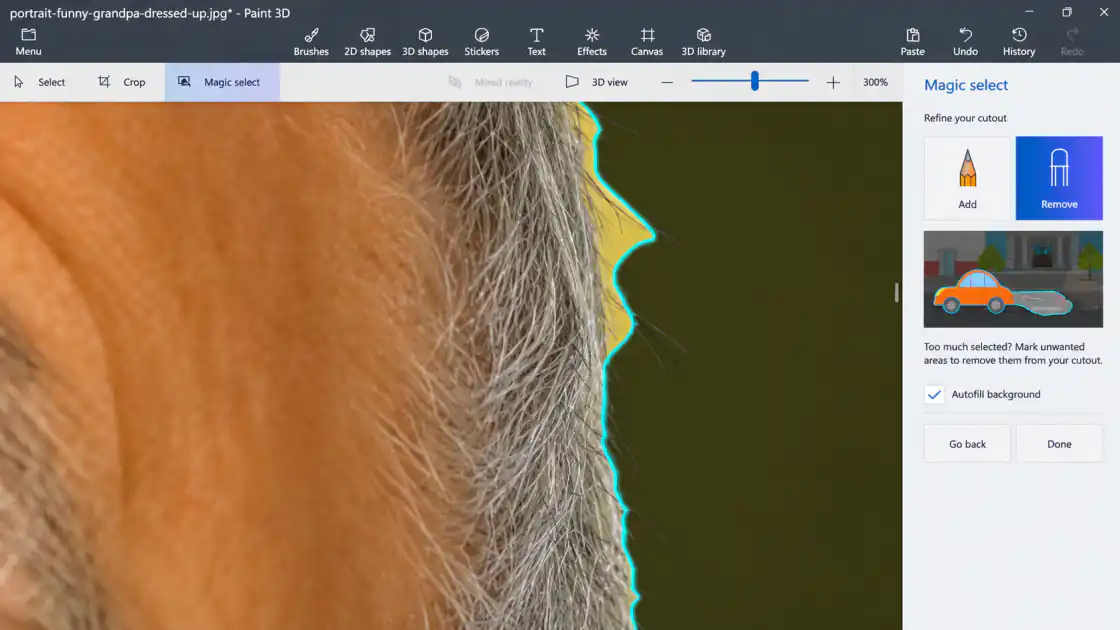
If Paint 3D included something you don't want, select Remove and draw over that part of the background. Make small corrections, especially around hair or clothing that blends into the backdrop.
Finish and Move the Selection
Once the outline looks right, click Done. Your selected subject becomes a separate object that you can drag, move, or copy.
You'll also see an Autofill background option during the selection process. When enabled, Paint 3D tries to fill the area left behind after you move your subject. This is helpful for quick edits, but the filled area may still need cleanup.
Magic Select vs. Regular Select
Use the regular Select tool when you need a simple rectangular part of an image. Choose Magic Select when you want a cutout that follows the shape of a person or object. Neither tool guarantees perfect edges, so review your result before saving.
How to Tell Whether Magic Select Got It Right
The first preview can look surprisingly good at normal zoom, then fall apart when you look near the edges. Check the places where the subject meets the background: hair, fingers, curved objects, and gaps between arms and the body. That's where accidental background patches usually hide.
Use Add for a part of the subject that was cut off, and Remove for an unwanted piece of the background. Make short marks rather than scribbling over half the picture. After each mark, wait to see how the outline changes. If the selection gets worse, undo the correction and try a smaller mark.
What Does Autofill Background Do?
Autofill background tries to fill the hole left when you pull an object away from its original position. For example, if you remove a person standing in front of a wall, Paint 3D may attempt to recreate the wall behind them. It can be convincing on plain surfaces, but patterned backgrounds often show a blurry patch.
If all you need is the subject as a transparent cutout, don't confuse Autofill with transparency. They're different goals. For a clean transparent PNG, make sure you remove the old picture and export the cutout with Transparent canvas enabled.
When Magic Select Isn't Enough
A busy background or very fine hair can defeat the automatic selection. Try using a better-lit original image with more contrast. If you've spent a while correcting the same edge and it still looks rough, the limitation may be the tool rather than your technique. For detailed product photography or professional portraits, a dedicated masking editor is often the better option.
Frequently Asked Questions
Does Magic Select remove the entire background?
No. It mainly separates the subject from its surroundings. To create a transparent PNG, you also need to remove the original background, enable transparent canvas, and export correctly.
Why does Magic Select cut off part of my photo?
It may have confused that area with the background or the original box may have been too small. Enlarge the selection area or use Add to restore missing details.