


How to Resize an Image in Paint 3D
Resize an image in Paint 3D by changing width and height in pixels. Learn how to keep the aspect ratio and save your resized photo.
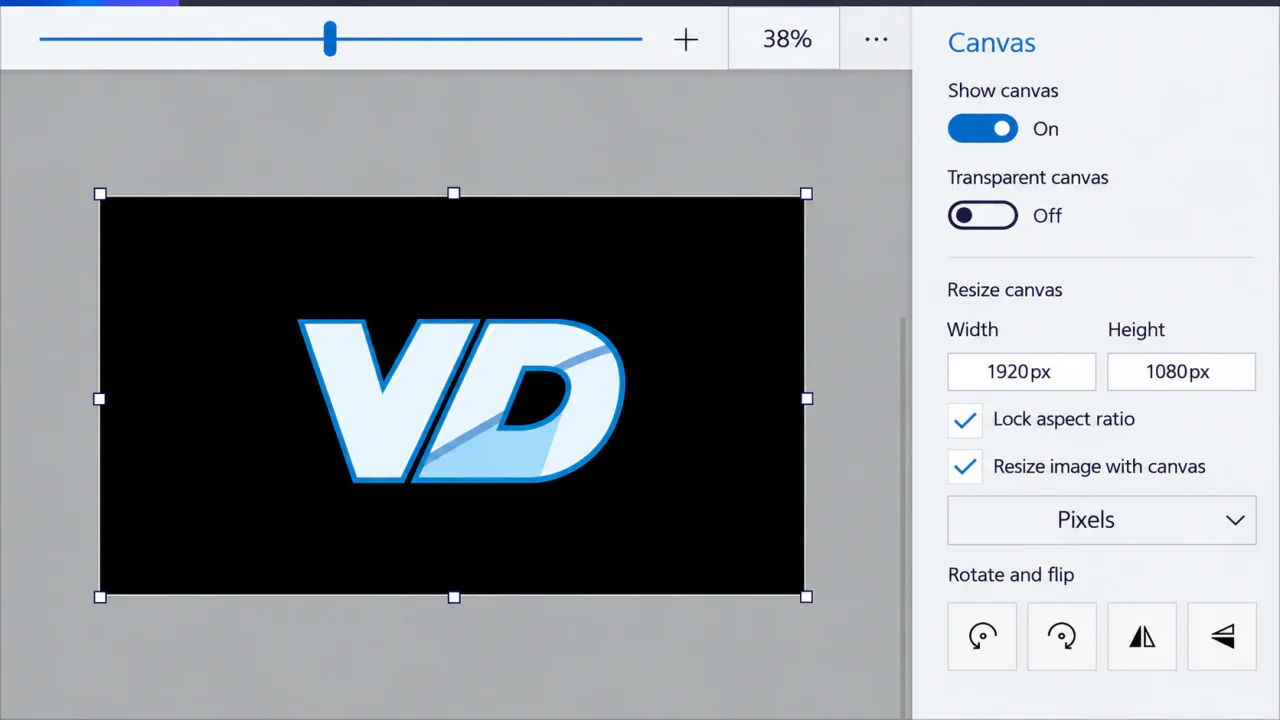
Let's say you have a 4000-pixel-wide photo, but you only need a 1200-pixel image for a website. There's no reason to upload the full-size version. Paint 3D lets you change the dimensions in pixels, and it only takes a few clicks once you know where the controls are.
The setting I would pay attention to is Resize image with canvas. If that's off, you can change the size of the workspace without actually resizing the picture. I'll show you the difference, plus what to do when you need exact dimensions such as 800 × 800 pixels.
How to Change Image Size in Paint 3D
Open the Picture
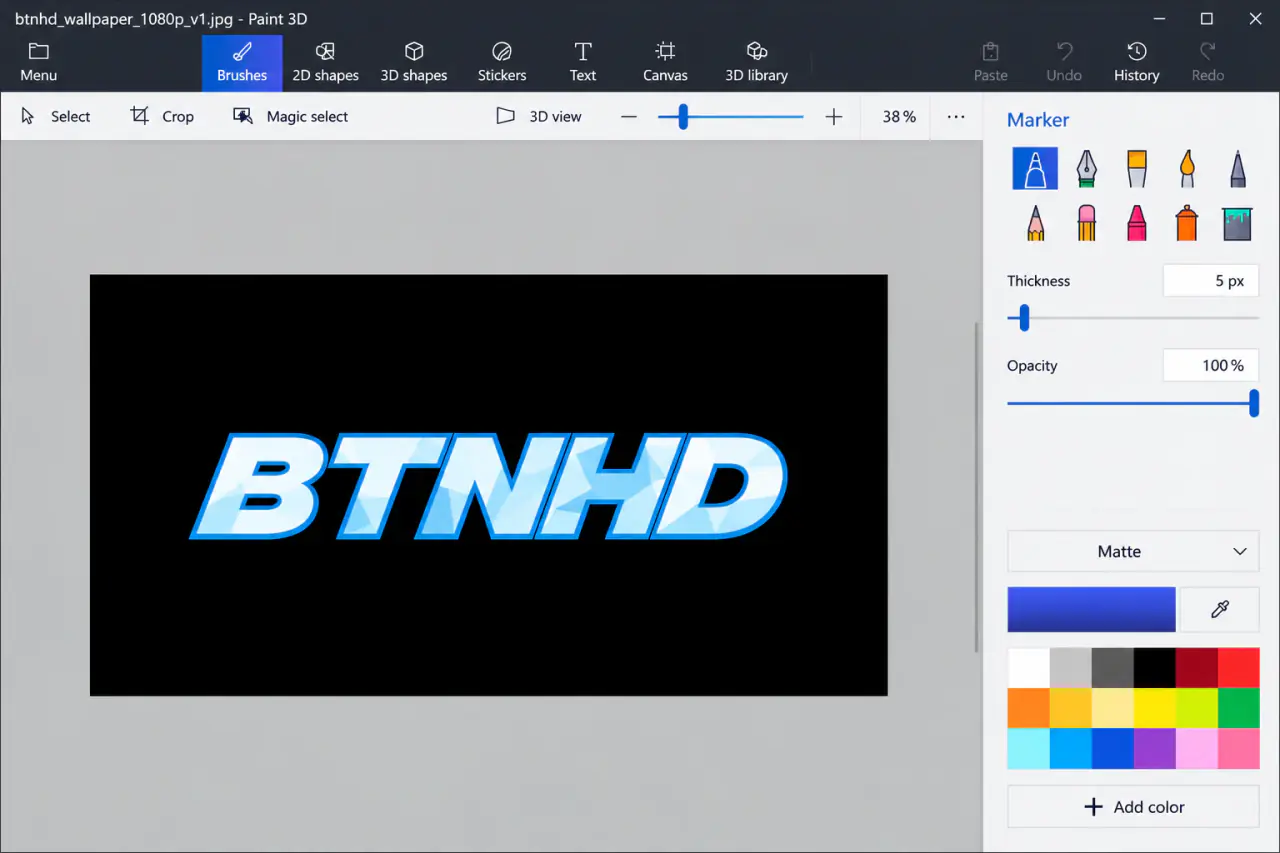
Launch Paint 3D and select Menu > Open > Browse files. Choose the image you want to resize. Opening the image directly makes it easier to work with its original dimensions.
Open the Canvas Settings
Click Canvas on the top toolbar. You'll find the resize settings on the right. Choose Pixels if you need a specific width or height.
Make sure Lock aspect ratio and Resize image with canvas are both checked. Lock aspect ratio keeps the original shape, while Resize image with canvas changes the photo itself rather than just the space around it.
Enter a New Width or Height
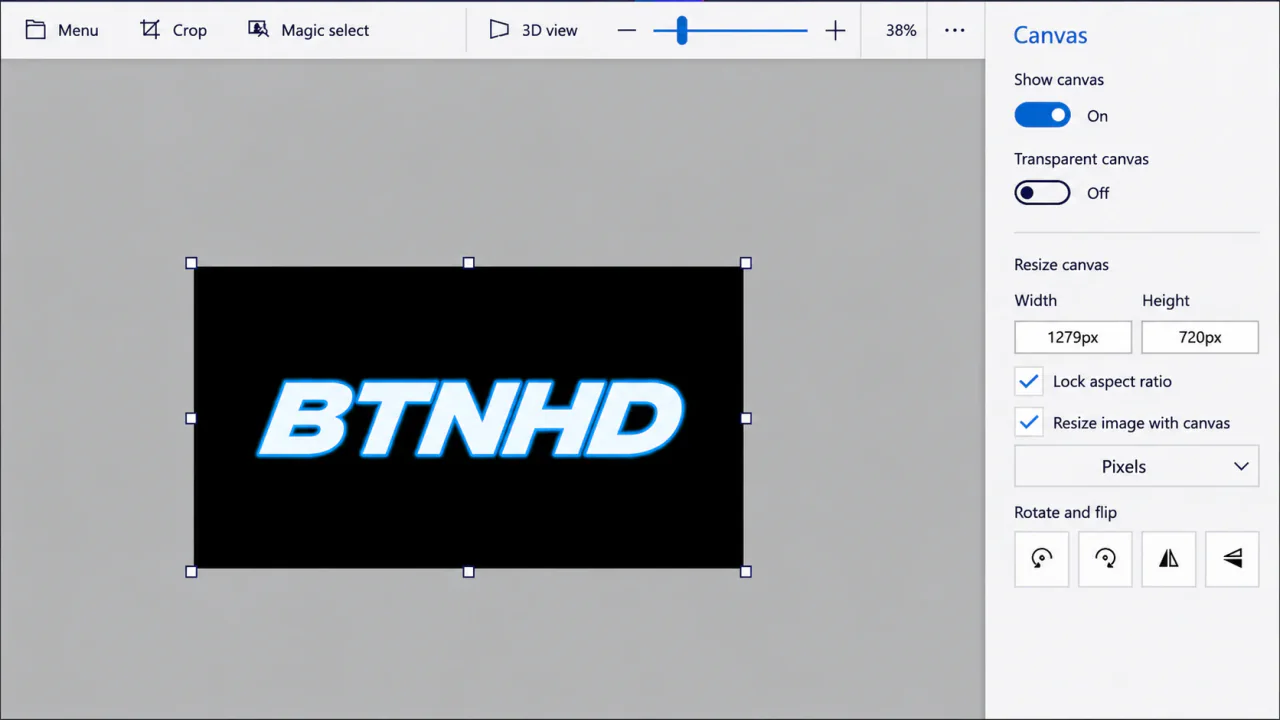
Type your preferred size into the Width or Height field. With the aspect ratio locked, Paint 3D adjusts the other dimension automatically.
For example, if your image is 1920 × 1080 pixels and you change the width to 1280, the height should become 720 pixels.
Save Your Resized Image
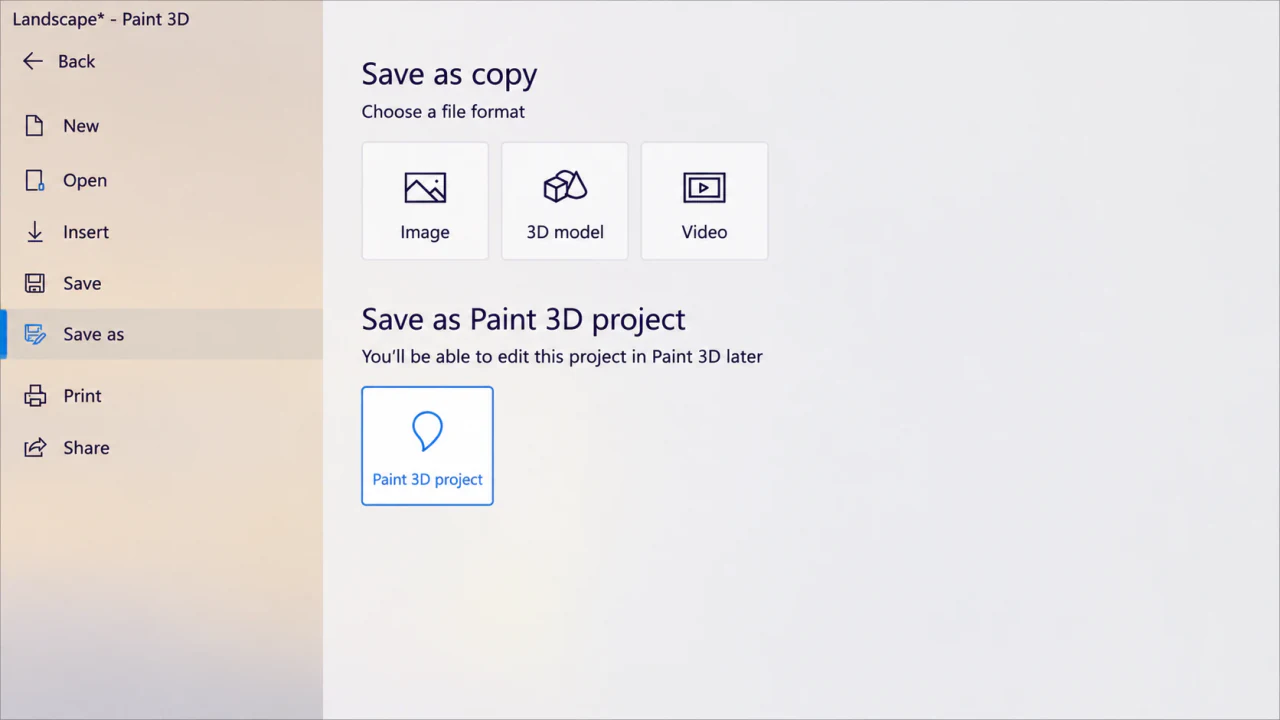
Once you're happy with the size, go to Menu > Save as > Image. Choose JPEG for a regular photo or PNG if you need transparency. Save it with a new name so you still have the full-size version.
How to Resize an Image to an Exact Size
Let's say you need a 600 × 600 image, but your original photo is rectangular. You have two options: crop it to a square first, or place it on a square canvas with some empty space around it. Don't simply unlock the aspect ratio and force the width and height to match, because that can stretch faces and objects.
Example: Resize a Large Photo for a Website
Imagine your original image is 3000 × 2000 pixels, but you only need it to be 900 pixels wide. With Lock aspect ratio enabled, enter 900 in the width box. Paint 3D should make the height 600 automatically. The photo keeps its shape; you're simply reducing the number of pixels.
Now imagine the site wants a 900 × 900 square. That's a different request. The original 3:2 shape won't become a square without either cutting off part of the picture or adding empty space. If you force both values by turning off the aspect-ratio lock, people and objects can look squashed. For most photos, crop to a square first and then resize.
Why Your Picture Might Look Blurry After Resizing
Making a large image smaller is usually fine, but repeatedly shrinking and enlarging a picture can make it look softer. And if the image started at 300 pixels wide, setting it to 2000 pixels won't create genuine detail that wasn't there. Try to work from the original photograph rather than a tiny copy downloaded from a messaging app.
One more thing: pixel dimensions and file size aren't the same. A 1200-pixel JPEG can have a very different file size from a 1200-pixel PNG. If your goal is a smaller upload, check both dimensions and the exported file size.
Frequently Asked Questions
Why did only the canvas size change?
You probably left Resize image with canvas unchecked. Turn it on before changing the dimensions if you want to resize the photo itself.
Does making an image bigger improve its quality?
No. Increasing the pixel dimensions won't restore missing detail. For a sharper result, start with the highest-resolution original you have.